Wednesday, October 12, 2011

Slacking Off

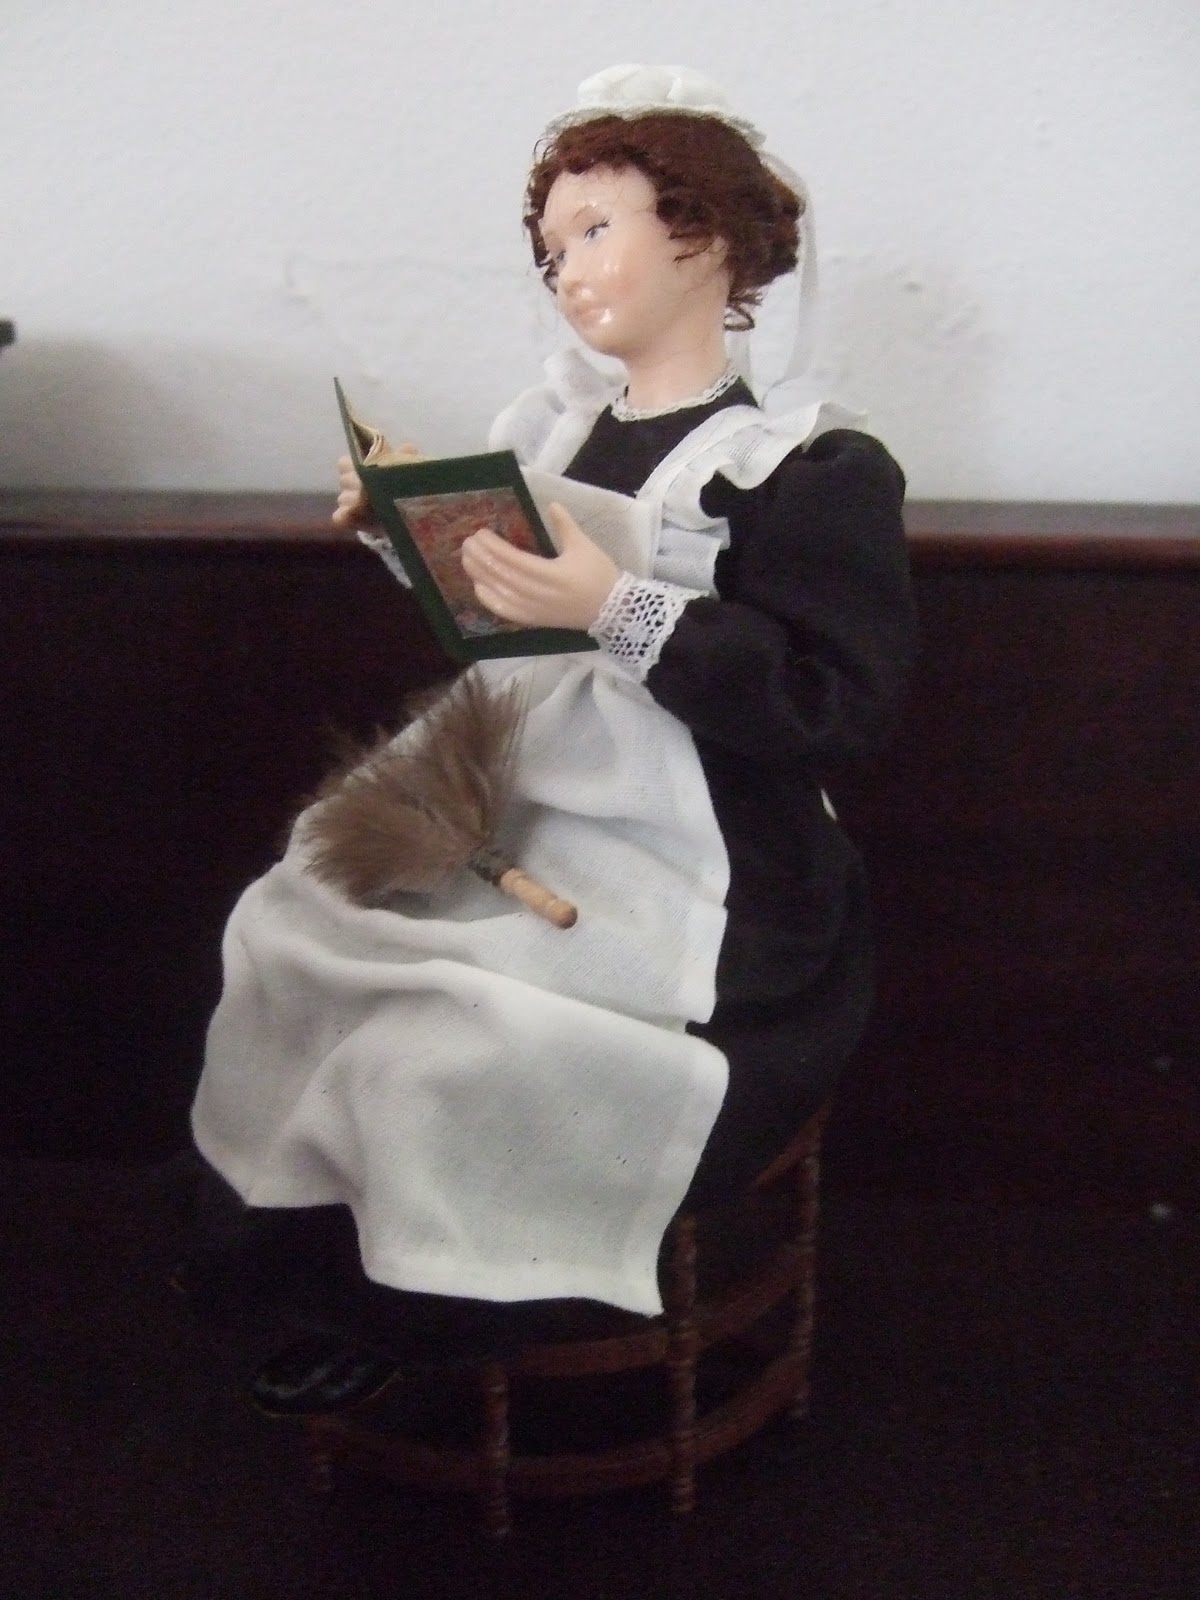
This another doll Mom made some time ago. She's one of my favorite, because if I were in her shoes, I'd probably sneak off all the time to read while I was supposed to dust too! I'm not sure why her face looks so shiny here, it's plain porcelain in real life. Unfortunately, I'm writing this post on the fly, so I don't have any better pictures.
On an unrelated note, I discovered this box the other day stashed away in my supplies. We finally around to clearing out the alcohol in our house a few months ago. None of us drink, so whenever we got it as a gift, it was usually just stuck in a particular cupboard and forgotten. While we were going through the cupboard, I spotted this great box. It's very shiny silver printed with black, and the various designs are lightly embossed.
I hoped at first that some of the top squares could be painted dark to look like cast iron fire backs, but the embossing is too light to really show up much when the design is painted out. But the silver finish can be dulled down to a pewter look by rubbing (dry brushing) dark grey paint over the top. There are a few designs that would work well for miniature shields, and a large cross that could work in a chapel. I'm thinking about using some of these pieces in an empty room box I've had laying about for a while, so stay tuned!

Friday, October 7, 2011

A Big (Micro) Project

Back in June I shared this 1/144th scale garden cottage which I made with Nell Corkin at the Guild School. The week was a lot of fun, and I went home really wanting to do more in the scale.
 
A few weekends ago, I did!  I decided to make another shed structure, because I wasn't confident I could build on my own. I also worried that the wood I used was not as sturdy as the stuff we used in class, so I wanted to keep the structure extra small to avoid problems.
I'm still working on the landscaping. The foam that Nell provided for grass and plantings had a nice range of colors, but mine is not as well mixed. It's slow going, because I really have to hunt for the bits with the right color!
  The bench out front is actually painted a sunny yellow, and then heavily weathered. I've added a few pots of flowers, but I still need to build up some of the bushes.
 I added a flat trellis with yellow roses along the left wall. This was a much quicker build than the freestanding one we made in the class.

I originally thought I might add a second floor crawlspace to the structure. But when it was time, I chickened out .
 On the right I added a big dresser. I had a difficult time figuring out what to put over here, since there was a lot of wall space but the piece had to be very narrow. I actually built this hutch as an experiment before I began the house, but it ended up fitting perfectly!
 On the right side is a glass bowl filled with yellow roses  from outside. The painting above the table is a micro watercolour of sunflowers I painted a few years ago. You can see more of them here.

Monday, October 3, 2011

A Good Man is Hard to Find, and Fake It Till You Make It

I realized that I haven't shown many of Mom's dolls on here lately. She made this fellow a while ago. Though she knew she wanted to put a frilly apron on him right from the beginning, he spent a long time in just shirt and trousers while she hunted for the perfect apron fabric. She also debated giving him a vacuum instead of dishes, but decided that it made more sense to wear an apron to do the washing up.
                                             
 I haven't done much lately. I've mostly played with a few other little pieces I picked up at the local dollhouse shop. I've always admired the China Closet's pierced bowls, and am lucky enough to own two small examples. You can see one of those below, on the Davenport desk by Julian Biggers. I'll have to take better photographs sometime soon, because this corner  contains some of my favorite pieces.
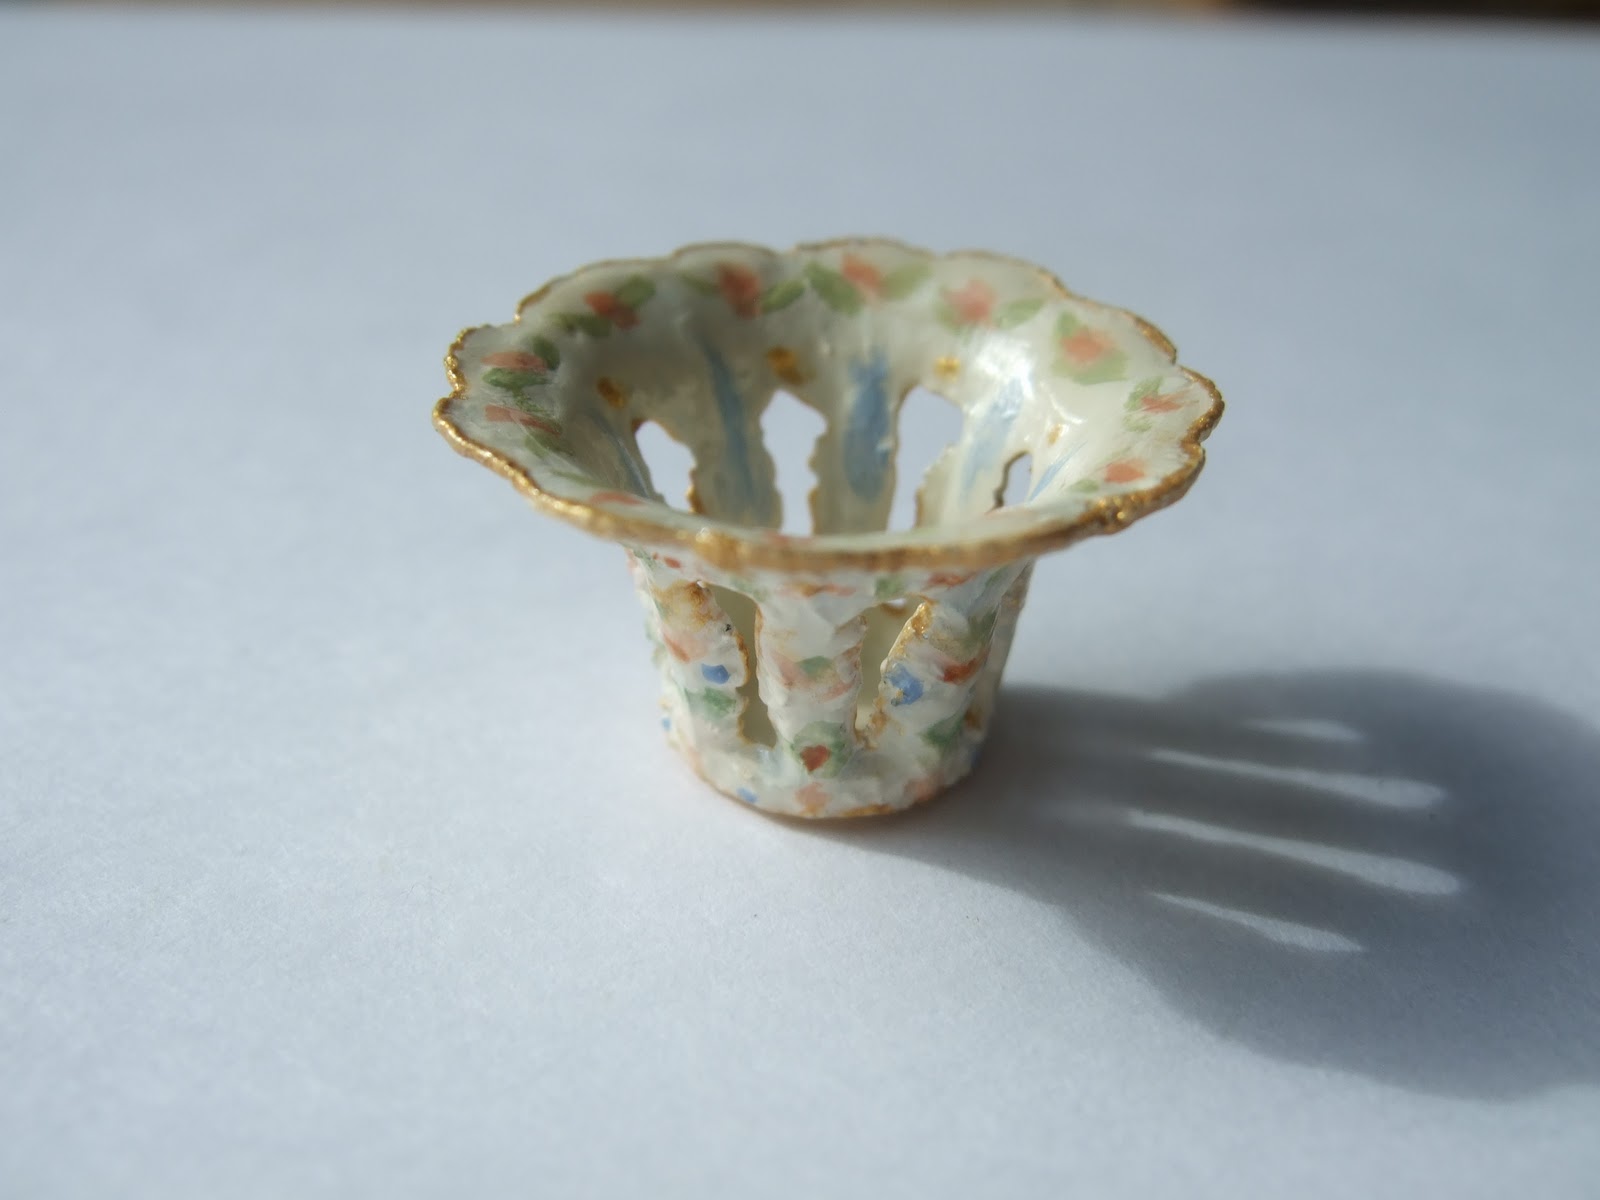
In any case, I started wondering if there was any way to make something that looked similar but was a little less fragile. I also wanted something that I could use in a shadowy corner without feeling guilty that it was hidden away. I found a shiny silver plastic bell (the type sold in packs in the wedding aisle of craft or party stores) among my stash and decided to see what I could do.
I forgot to take a before and in-progress pictures, but I'll do my best to outline the process. I used my set of files to first file a groove all the way around the rounded top of the bell, and then to take the top completely off.  With the top off, I could flip the bell over and add a flat base (where the top used to be). I also used the files to sand off the "made in china" lettering and other imperfections. Since I still wasn't sure that this crazy idea was going to work (it looked pretty rough at this stage), I didn't spend as much time refining the details of the casting as I should have. After that, it was simply a matter of painting the entire thing many, many coats of white until the original silver was completely gone.  I used a hairdryer to speed things up a bit, but it still took quite a while. When everything was flat off white, I added a bit of decorative painting inside and out. Last was a glossy acrylic top coat for protection and make the piece look like porcelain. It will never be mistaken for the real thing, but it's not a bad fake for an evening's work and less than $1 in supplies!

Friday, September 30, 2011

Another Painting

This was another watercolor attempt. I managed to get the scale right this time. I used a doll to double check the painting's head was a little smaller than life size.
Framing her was a little tricky. I usually keep the matting pretty neutral. Dark green or pale blue are generally my wildest choices. But this was a very warm painting, with lots of pink (it's a little washed out in the photo above). None of my regular choices worked. I tried the bubblegum-pink out of desperation, and was shocked that I liked it.

The frame color was a new shade of gold paint I was testing out. My favorite gold paint finally ran out a while ago, and when I replaced it, it seemed like they'd changed the formula to a much cooler (greenish yellow) gold.  This one wasn't bad, but it wasn't perfect either. It was a bit too warm/pinkish for most uses (though that worked for this painting!), and it needed quite a few coats. I'll let you know when I find my perfect gold again!

 One quick tip: If you plan to do a lot of framing, it's nice to save any matting mistakes (ones where I mismeasured, or the blade slipped, etc.) I use these mistakes to test mat colors before I spend a lot of time custom cutting one in the wrong color. Even a three mats in a dark, medium and light tone can sometimes help narrow things down!

Wednesday, September 28, 2011

Not Quite Right

When I haven't painted in miniature for a while, I struggle with the scale. I was quite pleased with this woman- until I held her up next to a few miniature pieces and realized she's about 3x larger than life. Of course, this occasionally happens in regular life too. My first "life size" full-body self portrait ended up over eight feet tall! But miniature paintings tend to look 'wrong' if they are significantly over sized.
 I decided to frame her anyway. She may end up somewhere in our 'real' house. I have a small collection of these larger-scaled but still tiny paintings, and I've been toying with the idea of grouping them on a small section of wall. I'll post another painting with better scale on Friday.

Monday, September 26, 2011

Miniature Boxes

One of the tools we used a lot at the Guild School was a small square. It was a tool I owned before, but I reach for it a lot more frequently after the class! It made the construction of these boxes much quicker. I didn't even have to pull out my ruler!
This blue box was my first attempt. It's about 1" across.

Next came a green box covered in antique "scrap" images. It's difficult to see, but I painted the edges of the lid the same blue as the box above.

 The insides of these first two boxes are painted the same color as the exteriors.
Next came a rusty red box...
with compartments to store some of my hand cut dollhouse paper dolls. I still want to design a label for this.
Last of all was a painting set.
The tray is stored snugly inside the box...
but comes out when it's time to paint! I'd like to make a couple paint brushes to round out the set, but my attempts so far are very fragile and look a little awkward. I really wanted to have real bristles, but I'm thinking now that it may be better just to carve the end instead.

Sunday, September 25, 2011

One Man's Trash...

I found this little plastic baby doll carriage in a bin at my local dollhouse store. It was marked 25 cents, so I bought it. I knew it would be an easy project.
 Here it is repainted. I added a bit more distressing than I usually would, so that the toy would look well loved.
 I used to hate painting eyes on dolls. They are so tiny, but if they look wrong, it wrecks the toy for me! I used to redo them countless times. Then I figured out a very simple method which looks surprisingly realistic. Use artist quality acrylic paints, because they less transparent than craft paints. Water down white paint until it is quite runny, but only a bit translucent. Paint the white of one eye with this. While the paint is still wet, dot the pupil in using slightly less watered down black or dark brown. The white and black/brown will mix around the edges of the pupil, creating a fairly realistic blue-grey or brown iris. Just repeat for the second eye, then add eyebrows, lashes, and any other details you want.