Saturday, November 9, 2013

A Birthday Gift


 Mom's birthday has fallen on the same weekend as the Philadelphia show for the last two years. Last year, I was so behind that  I ended up shopping at the show for Mom's birthday present. I was determined to be better prepared this year. On a side note, I love wrapping minature presents because the small packages are the perfect way to use up scraps of nice ribbon.

I made this sheep following the now-defunct tutorial from Paizley Pawz. Basically, it started out as a plastic sheep, which I first painted, then covered in combed-out chunks of undyed yarn. I left the sheep clean, but Mom has given me the green light to add a bit of dirt to it's coat.
Mom liked the sheep so much that I'm now working on a little lamb to stand alongside!

Wednesday, October 30, 2013

Back from the Dead, and Philadelphia Miniaturia

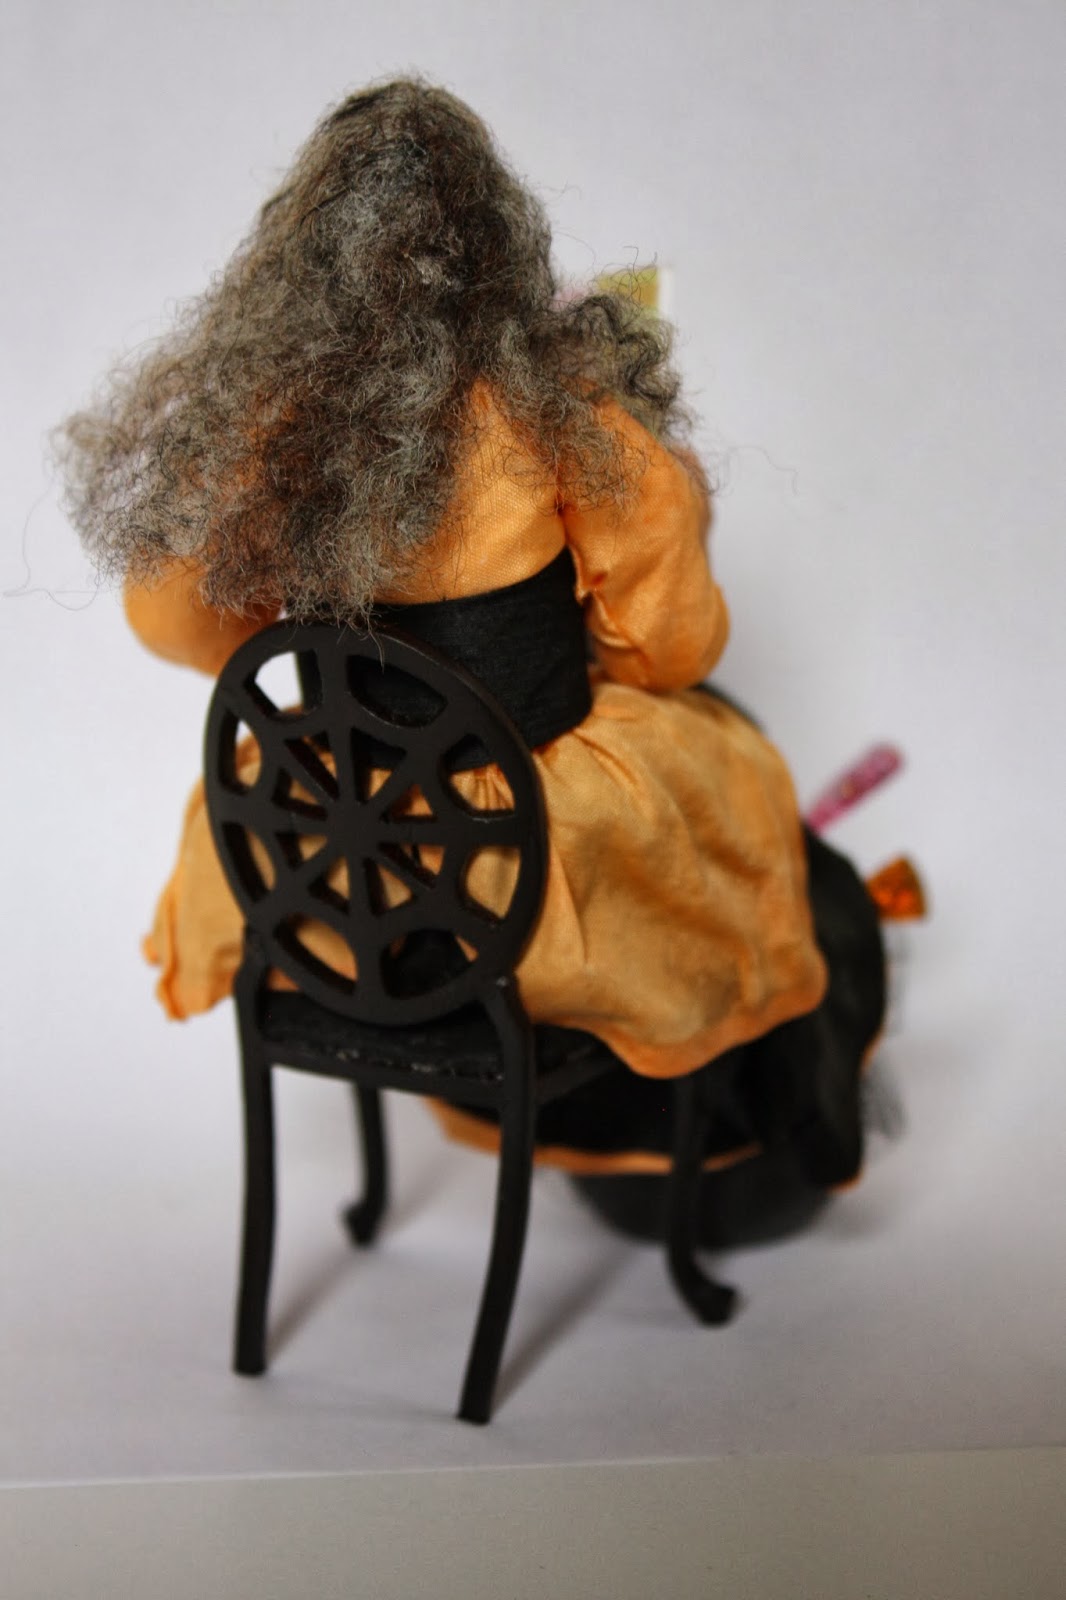
This is just a bit of a teaser post after my (3 months, yikes!) absence from blog land. Mom and I will be traveling to the Philadelphia show tomorrow night, so we won't be around to see the trick-or-treaters. We'll be carrying a bit of Halloween spirit with us though, in the form of this witch Mom dressed.
 I made her magazine (Harpy Bizarre)  and had lots of fun coming up with appropriate titles for the articles. Inside, there are advertisements for witchy supplies, a quiz "Is your warlock right for you?" and a book review for Warts and All by Prince Charming. I think I got a bit carried away...

The moment Mom saw this fabric, she knew the witch needed polka dot pantaloons. The potion bottles are made from glass beads. It's difficult to see, but her toenails are covered in green nail polish, and there is a tiny bottle of polish next to her foot.
Finding the witch's chair may have taken the longest! It's a retired Bespaq piece. We bought one of these chairs a few years ago and thought it was perfect for this witch. Unfortunately, that first chair got broken by a marauding puppy.
 
I'll be back, posting more regularly (probably once a week or so) after Philadelphia. Hope you have a Happy Halloween!


Saturday, July 27, 2013

How to Make Bamboo Furniture: Part One

I have a real soft spot for bamboo furniture, and I've always wanted the parlor to have a few pieces. As it turns out, miniature bamboo furniture is incredibly difficult to find! I've been searching for over a decade, and only found a couple pieces, none of which were quite right for my house. In fact, the only piece of bamboo furniture I have is this chair that Mom made. It was one of the first pieces of furniture Mom made, and it's become quite rickety as the glue is letting go. I finally had to pack it away for safekeeping until it can be fixed or remade.
 This illustration of a bamboo "overdoor" caught my eye in a library book a while ago. I am completely addicted to dollhouse porcelain, so anything that lets me cram in a few more plates/vases/figurines is a good thing in my book! I had to make it.
I reworked the design to fit over the parlor door. I eliminated all the curved pieces, which would have made the project more difficult. I was also completely out of narrow dowels, so I used toothpicks to make the bamboo. Using toothpicks meant I had to break the long bottom piece into three sections, which I think made the whole thing a bit more fragile.
I used my chopper to cut the toothpick pieces to size. If anyone wants exact measurements, I can add them to the next post. The bamboo rings were made with DMC floss, covered in tacky glue and then wrapped twice around the toothpicks. I added the rings randomly, though I did try to keep the spacing fairly consistent.
My gluing jig was helpful keeping the bottom and vertical bars square.
I used my drawing to add the top and middle bars.
This is the assembled back portion of the overdoor. It still needs a shelf, decorative panel, and paint job. I had to pause here for a while, since this was as far as I had planned. I took a moment to check the fit over the parlor door.
 
Not bad, but it still has a ways to go!

The shelf was made from more toothpick and thread "bamboo", and a scrap of thin wood from a sandalwood fan. I tucked a piece of cardstock where the painted panel will eventually go. I'm thinking about adding panels behind the four bottom squares as well, but will wait until the I've painted the bamboo to decide.
Here's a better view of the shelf.

I'm also toying with the idea of adding a pair of little shelves for teacups or small vases on either side of the main shelf, approximately where you see them in the picture above. Next up, I'll be faux-finishing the bamboo, and painting that back panel.

Monday, July 15, 2013

Another Tiny Beaded Handbag

Whoops! It's been a lot longer than I expected it to be since my last post. I've had a surge of non-miniature related energy, and the dollhouse projects went on the back burner. The good thing is that I got a lot done in real life. In the past week I've planted flowers, hauled rocks, re-organized cupboards, cooked enough to fill the freezer, and even got a head start on Christmas presents.

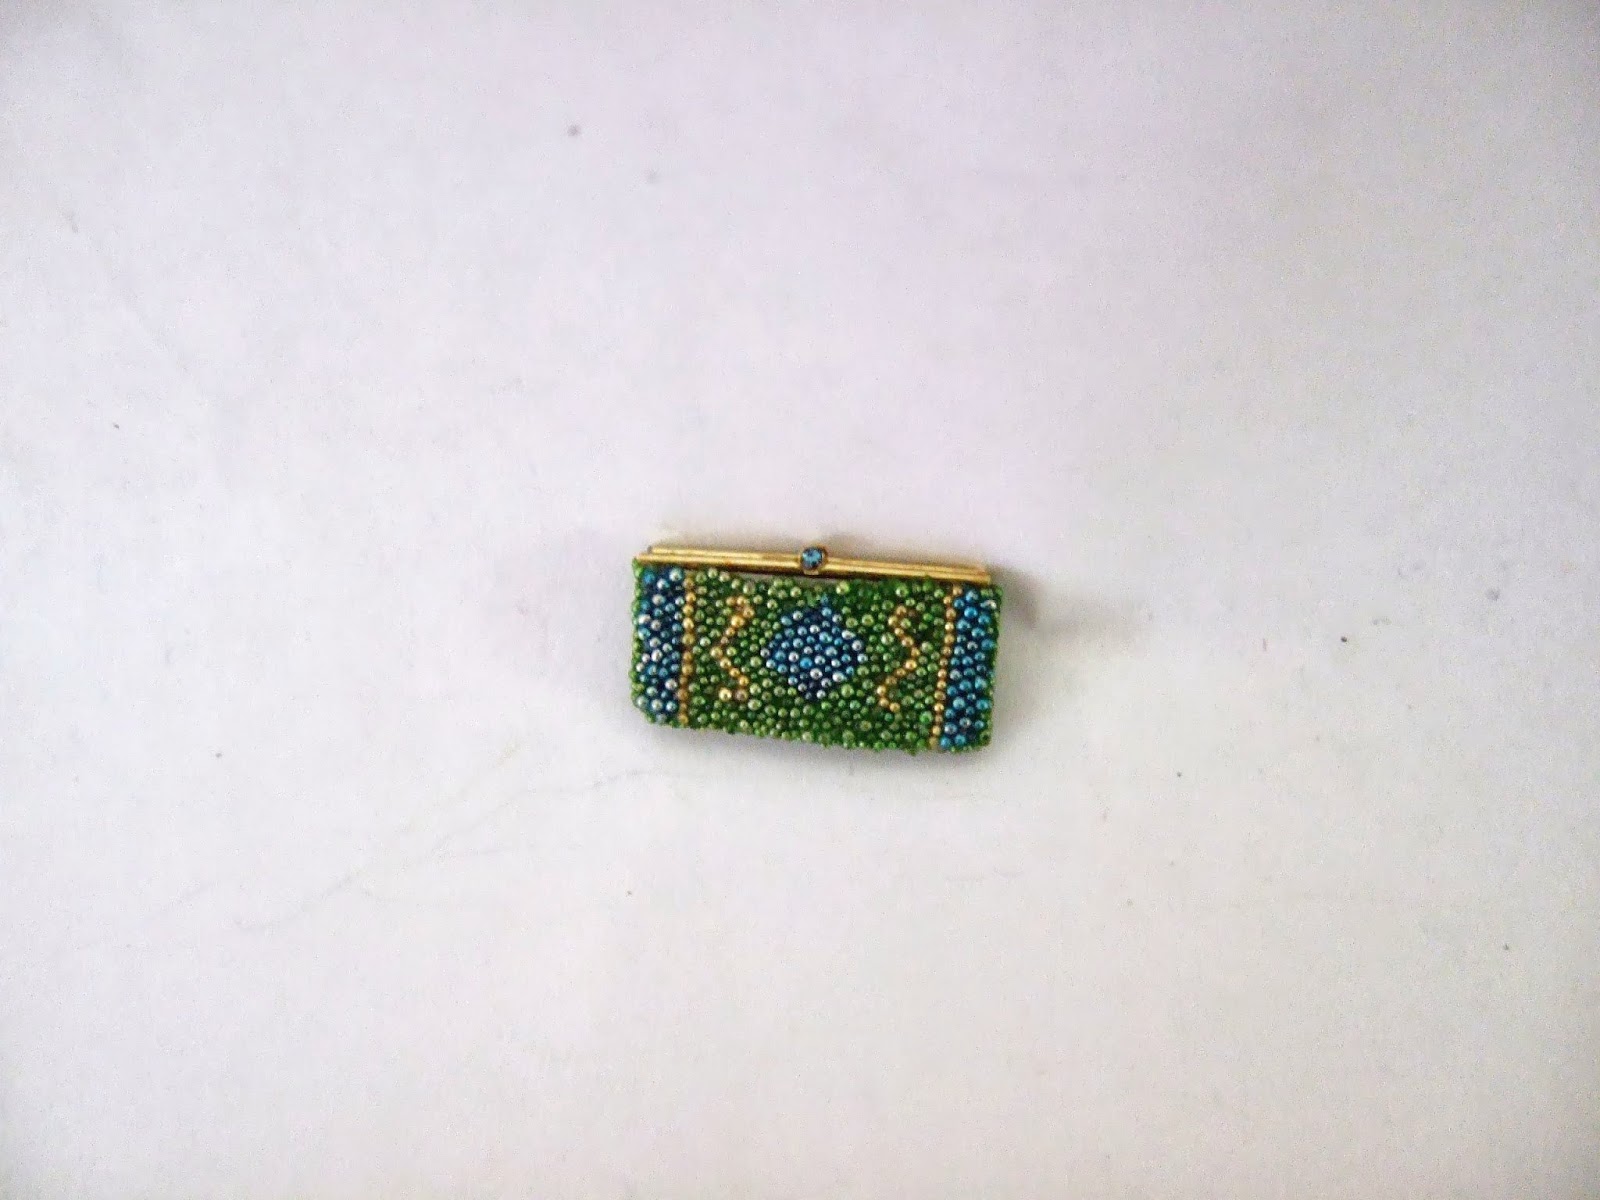
 When I left off, I mentioned that I was working on a black and gold beaded evening clutch. I did manage to finish the clutch during my mini-break. I freehanded the design (as usual), and  somehow managed to miss the fact that I'd drawn a big "M" until I was almost done with the beading.
I did experiment with a different style of clasp for this particular bag. I usually use a tiny Swarovski crystal and brass finding, but I couldn't decide what color crystal to use with the black and gold. I substituted a larger brass finding instead, and really like the result! I still plan to use the crystal clasps for most of my beaded handbags, but I love having another option when the crystals don't look right.

Monday, July 1, 2013

A New Beaded Handbag

 
 I mentioned this morning that I had finished a beaded handbag. Well, after making several handbags with straps, I wanted a little change of pace. I decided to try making a clutch. It turned out better than I was hoping!
 Since the clutch is slightly smaller than the other handbags I've made, the beading went a bit faster. The one thing I regret is not adding a gold border around the blue diamond in the center of the bag to highlight the diamond shape. I guess it's true that blue and green should never be seen, at least when they are micro beads right next to each other!
 Since I wasn't planning to add a chain strap, I only needed two thicknesses of cardboard (rather than the usual three) to fit the hardware on top.
 

 I'm tempted to make some sort of shadow box to display some of the bags, but I have so many unfinished projects, I'm wary of starting yet another one.
I've started working on a second clutch- black with gold swirls. Pictures of that next!

Saturday, June 29, 2013

A Painted Bookcase for the Nursery


There are several pieces that have never had a good home in the nursery. The silver cup and porringer, along with the bent spoon I made over, have been moved countless times. It occurred to me that an unfinished wooden bookcase I'd purchased from Bed Miniatures was just about the perfect size for the long and narrow room. 

I added feet made from Tiny Turnings, then got to work on the painting.  I based the  flowers for the bookcase loosely off the flowers from the curtain fabric (below). I didn't want to copy the fabric exactly, but wanted it to have that same delicate feel.
The post describing how I made the nursery's balloon shade can be found here
You can see in this photo how the cheap metal of the bent spoon looks different from the silver pieces. I'm thinking that a little silver rub'n'buff may help the spoon blend a little better.  The walls of the nursery are hung with fashion plates, which you can just see in the photo above. I got really interested in the full size versions when I was around twelve, so of course my dollhouse had to have them too! 
I filled the lower shelf of the bookcase with readable books. I've had a little box of books just waiting to fill a bookcase. I went through and picked out the most youthful titles for the nursery.  The Teddy bear had been hanging out in the playroom, but I like him much better down here. He's one of my favorites, and he was getting lost in the crowd of bears in the playroom. For some reason, I've never been a huge fan of teddy bears in real life, but I have a hard time saying no to the miniature ones!

Thursday, June 27, 2013

A Small Before and After

Last night I did a quick makeover.
I've had this little bent baby spoon in my nursery forever. I don't even remember purchasing it! It's not an expensive one. It's made of cast metal, and not particularly well done either. If it were on it's own that wouldn't be a problem, but  I have it sitting next to a delicate sterling porringer and cup from Peter Aquisto. The craftsmanship of the sterling pieces just highlighted the chunkiness of the spoon. It's always bothered me that it
 I used a small set of metal files to reshape the spoon. The bowl of the spoon is quite shallow, and I didn't have any tools to deepen it.  However, I was able to reshape the outside of the bowl, so that the edges are thinner, giving the illusion of a deeper bowl. The biggest difference came from getting rid of the excess metal on the handle. The files left some scratches and rough surfaces, which I scrubbed off with steel wool.
Last of all, I buffed the spoon with a silver-polishing cloth, which brought up a bit more shine than the photo shows. The cheap metal is still a slightly different tone than the silver pieces, but at least it won't look as out of place. I have a few more little updates in mind for the nursery, so I'll take prettier photos once I've made a bit more progress!