Showing posts with label supplies. Show all posts

Sunday, June 9, 2013

When Grandpa Babysits: A New Source for Mini Fabric

Over the last few months, Mom has been talking about this idea for a doll. We decided that the baby must have gone home before Grandpa dozed off (no child endangerment here!) Despite having a very clear idea of what the grandfather doll should look like, Mom took a while to start working on him. As it turned out, Mom's delay meant that the perfect fabric fell into her lap!
The dolly in blue was an undressed porcelain piece we bought at Philadelphia and costumed ourselves. The teddy bear is the one from my flocked bear tutorial. The book (cover) came from Jean Day, and the rest of the miniatures were in our stash.
The fabric for the grandfather's trousers was a lucky thrift store find. A cotton shirt in the mens' section was the perfect weight and scale for miniatures! We always check out the tie section for tiny silk prints, but hadn't thought to look anywhere else.

Here's a close up of the shirt fabric turned miniature trousers. I love that the stripes are made up of even smaller dots! Finding any in-scale patterned fabric can be difficult, but it's particularly hard to find patterned fabric suitable for men. We'll definitely be scoping out the shirt sections of thrift shops more carefully from now on!

Saturday, April 27, 2013

5 Tricks and Supplies* Every Miniaturist Should Know

1. Get the gunk out of paintbrushes with rubbing alcohol.
This is a trick that I learned from Casey. Just dip those crusty old paintbrushes in rubbing alcohol, and the paint will come right out. It seems to soften some of my brush bristles slightly as well, though this could be my imagination!

I used a hairdryer to take apart this bespaq love seat  for reupholstering.
2. Use heat to soften the glue on commercial furniture. Just use a hair dryer to heat whatever you are trying to remove/take apart.  I don't recall where I first learned this trick, but it really gets those stubborn pieces unstuck without breaking.

I used the microwave method to stiffen the crown for this pirate's hat. 
3. Dry leather in a microwave. If you need leather to hold a specific shape really well, get it wet/damp, stretch it into the right shape, then microwave it dry. The microwave "cooks" the leather into a hard shell. It will also change the texture of the leather, into a smaller, more pebbled surface. I wouldn't recommend doing this in a microwave that you use for food, since I have no idea what toxins might be in the leather.

4.Printable Scale Rulers
I can't tell you how many times these accurate miniature rulers have come in handy. I tend to convert measurements to fractions of an inch when I need to reduce them precisely. But if I've eyeballed something and just want to confirm that it's approximately the right size, I love the 1/12th and 1/144th scale rulers from Jim's printables.

5. Use Zip Kick to instantly dry Zap-a-Gap glue.
I first heard of this stuff in a "behind the scenes" interview with a movie prop master. Then, I used it for the first time with Nell Corkin at the Guild School. Zip Kick dries Zap-a-Gap glues instantly. I always tend to underestimate the amount of time it takes for super glues to dry, and for a while I gave up on using super glues, since my glued joins never seemed to hold, and I was constantly having to
unstick my fingers! It comes in spray or liquid form. Just be aware that the spray form smells terrible.

Disclaimer: I am making no money from promoting any products mentioned in this post. All opinions are my own, based on the products I have purchased.

Friday, April 5, 2013

Making a Venetian Mirror in Miniature

This project was not at all what I expected to be working on yesterday. But once the idea was in my head, it just wouldn't leave me alone until I gave it a try. 
The only mirror I had to play with was a package of 1/2" mirrored tiles, so my mirror experiments had to stay quire small. I bought them for a project, but never used them because they weren't as precisely cut as I'd hoped. They've been sitting in a drawer ever since, waiting for inspiration. The silver/mirrored paper on the right I found the last time I was at the craft store. It isn't a true mirror, since the paper's texture distorts and blurs the images, but it was close enough for this project.
 It just took me a while to figure out the best way...
 
 
(1st attempt on left, final attempt on right)
The first mirror I tried, I used masking tape and a few tiny punches to create stencils, which I then stenciled using white paint. The result didn't look quite right, but it was close enough to be encouraging.

For the second mirror, I remembered some brass stencils I'd bought years ago. I used the smallest parts of the designs to stencil leaves and flowers on the mirrored paper. The look was better, but the white paint still felt a bit heavy.  I also hated the shape of this frame.
 
For the third frame, I tried something new.  Rather than stenciling the design, I etched a freehand design into the paper with the pointed tips of my tweezers. This gave the lighter look that the first two were missing. But without the white paint, the mirrored paper started to look like metal, rather than mirror. I used a tiny bit of watered down white paint to fill in the designs, which helped a lot.

I still want to do a bit more experimenting, so I'll hold off posting step by step instructions for a little while.

Thursday, March 21, 2013

A Sneek Peak of Some Jewelry

This is a sneak peak of a larger project I've been working on.  I was in a bit of a girly mood last weekend, and decided to play around with some jewelry findings and no-hole beads. My favorite is the little peacock brooch (far right)
I covered the  displays with white velvet. Of course, I couldn't stop with just three little boards! Come back on Saturday for a look at the whole display!
Yesterday I went to a craft store to pick up a tube of gold rub'n'buff, which I needed for the jewelry display. What was supposed to be a quick stop turned into a much longer trip, since I kept wandering around the store finding more things to add to my basket. I don't have any pressing need for the paperclay, but bought it because it's never in stock when I do want to buy it!

 Continuing clockwise from the clay, I picked up a set of Martha Stewart no-hole beads for making beaded handbags. Most of the beads are pastel, which was exactly what I needed. I also found some little metal charms which I'm planning to use as stamps. Some of the smaller ones may be good for making tooling leather books. I grabbed another paint brush (can never have too many!) My last purchase were a couple sheets of embossed metal. I'm not sure what I'll use them for yet, but they were interesting and in the clearance section, so I grabbed them just in case.

Tuesday, March 19, 2013

Sweet Dreams

This little boy has been half-dressed on Mom's worktable for weeks. Every time she'd try to work on him, something would happen which would pull her away. But she finally finished him over the weekend.

We debated what he should be holding a lot. After raiding our extra miniatures looking for stuffed animals, nothing seemed quite right. A great rabbit toy was too tiny, and a sweet teddy bear that was otherwise perfect just wouldn't hang realistically.
After trying a few more animals, it was pretty clear that we didn't have anything that would work. So I thought I'd try making one out of flocked clay. A few months ago, I found little containers of flocking in the craft store dollar bin. They were being sold in packs of four, so each container only cost $0.25. I bought a bunch, including a tan which worked perfectly for the bear!
 
However, if you don't happen to have the perfect shade of flocking on hand, you can mix the color yourself. You may already know this, but I had no idea for the longest time. Ladybug clued me in. Just dump a few colors in a plastic container, seal the lid tightly, and shake until it's mixed!
 I'm planning to post step by step photos for sculpting and flocking a similar bear, but it will definitely take me a few days.

Friday, March 1, 2013

All That Rusts is Not Iron

I'm an incurable bargain hunter. I love thrift shops, flea markets, and clearance racks-especially when they yield miniature supplies! The last time I was at the craft store, I found a few different Sophisticated Finish  paint kits in the clearance aisle. These are faux metallic finish kits consists of a paint which contains tiny flakes of metal, and a solution which corrodes the metal flakes. I'd tried the "copper" finish from the same brand, and liked it quite a bit. You can see the card stock lantern I used it on here. This time, I bought "iron" paint with a rust solution, and a bottle of "bronze" paint I've yet to try.

This little horse figurine seemed like a good piece to experiment on. I gave it several coats of the iron paint, and then a little of the rusting solution (unlike the copper version, the iron paint needed to dry before the aging solution was applied). I wanted it to look like it had been exposed to the elements for a while, without completely covering it with rust. The rust on the horse is far more subtle in real life, which I like. I let the rusting solution pool in places where water might collect.
I don't think I'd have purchased any of the faux-finish kits for full price, except possibly the copper kit.The normal retail price is a bit expensive for the amount of paint (normal price in my craft store is about $11, mine were marked down to $3). But now that they are in my supplies, I've used both the copper and iron paints on on a few little projects. 

Saturday, February 23, 2013

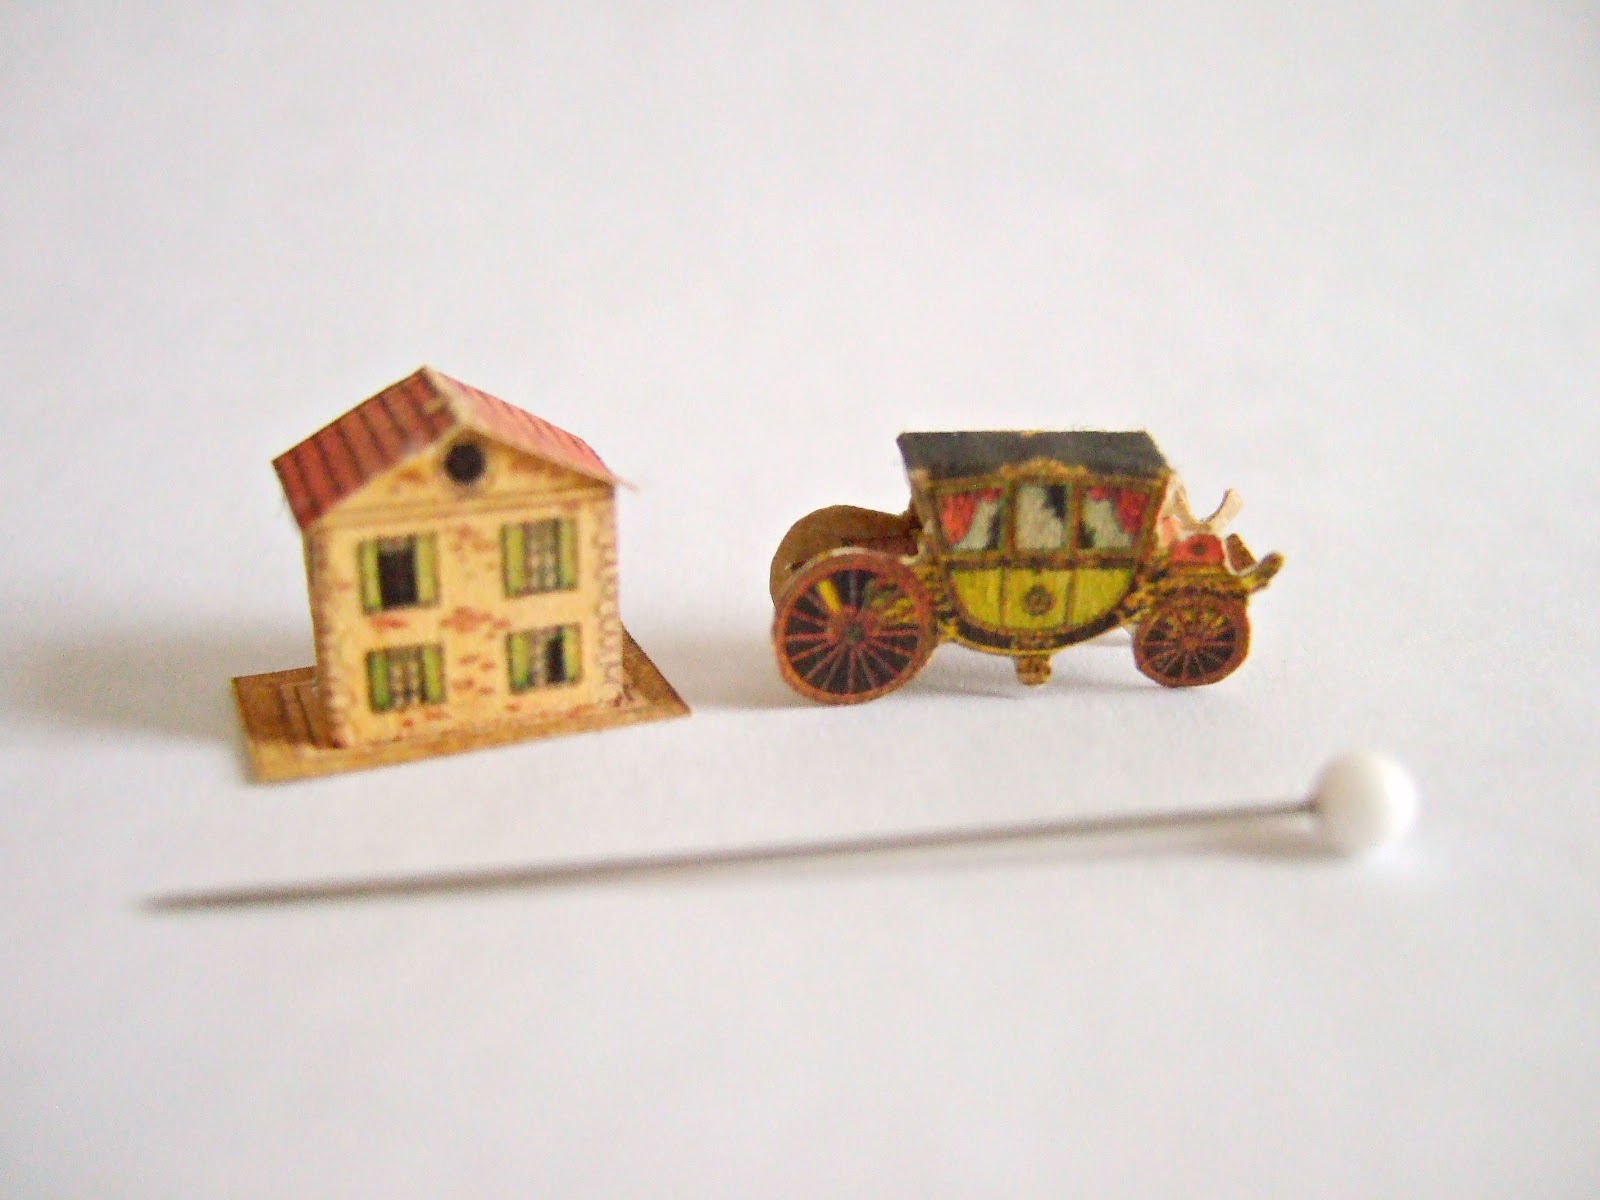
Tiny Paper Toys

I've been working on some tiny paper toys for our next miniature fair. I really enjoy making these types of projects, but there's a limit to how many one dollhouse can hold.  Since my dollhouse is already crammed with tiny objects, it's good to have miniature shows to use as an excuse to make more.
 
I also did a little tidying of my workspace, which was getting completely out of hand. I'm usually pretty good about cleaning up if I'm working on one project at a time, but lately I've been working on two or three miniatures at once, which not only meant three times the supplies, but also that I never had a clear stopping point to pick up. Thankfully, this is the "before" photo! I desperately need to figure out a new solution for the things in the white baskets on the left. They hold most of my glues, specialty paints, nasty chemicals, etc. and are a constant mess. I've straightened them up for the moment, but I know they will revert to chaos the next time I use something.

Wednesday, February 13, 2013

Experiments Gone Awry

 
I normally only show projects I'm happy with on this blog. Today I thought I'd share a project that is still in the messy trial stages.
 
It all started with this punch needle kit from Joan Grimord. It was such a quick and easy way to make a rug,  I started thinking about the other rooms that needed carpet. I've planned to put an oriental carpet in the dining room for years, but never found the perfect one. Then, at the Guild School, I saw a gorgeous oriental carpet Joan had made by shaving a piece of punch needle embroidery. Unfortunately, it didn't seem like she'd be making a kit for the shaved carpets anytime soon. So I finally decided to just see what I could do with what I had.
I only worked on a one inch square test piece, and used colors that would work in the parlor. I figured if it looked good, I could use it to fill the empty little footstool frame has been kicking around. The trial piece didn't turn out so well, but I stuck it in the footstool anyways, just for fun.
  So here's what I found out:
1.I really need to measure more carefully- even if this carpet attempt was successful, I made it so small the base fabric shows all around the cushion edge. 
2. The thread colors darken once it's been shaved.
3. The DMC thread I used is no good for the shaved rugs, though it works nicely for the hooked versions. The fibers seem thick and clumpy, and the brown sections frizzed until they looked dusty.
4. Shaving sometimes seems to distort the pattern.The center design was a pretty clear spray of hooked pink flowers, but shaving turned it in to a pink and green mess.
Obviously, I have a lot more experimenting to do before I can start on my dinning room carpet, but I'm excited that I got something vaguely carpet-like on my first try. 

Sunday, February 3, 2013

The Top 10 Tools In My Workbox

I thought I'd share a list of my favorite tools. This isn't a comprehensive list of my tools by any means, but if I lost all my miniature supplies tomorrow, these would be some of the first I'd replace. I know some of these tools are probably pretty obvious, and some of the others may be a little quirky for a standard tool kit, but these are the tools that I'd have a hard time living without!

1. Pointy Tweezers- These are a fairly recent addition to my work box, but I'm not sure how I got along without them before. These are great for working on anything tiny!

2. Flat tweezers- These are the tweezers I've used for years. I shamelessly stole them out of the medicine cabinet, and just never gave them back. I prefer these tweezers whenever I work with paper, since they grip the paper more firmly than the pointy tweezers.
 

3. Needle Nose Pliers- Another tool I stole out of household supplies and never gave back! Besides bending wire with them, they are great for breaking wood in a controlled manner.

4. Gluing Jig-This is the smallest gluing jig from Smaller Than Life. I love that this size easily fits into my storage drawers, and it's almost always large enough for my needs. I used to use plastic boxes for gluing right angles (and the late Frances Armstrong sugested Lego toys) but I love how  magnetic jig holds the pieces in place, meaning that I can easily put it aside for the glue to dry, without worrying that something will be knocked ajar.
 
5. Small Scissors- These scissors were one of the first miniature-making tools I owned. I bought them with my allowance when I was about twelve years old.I had just started making miniature paper toys, and was using children's fiskars scissors to cut out 1/2" tall paper dolls. I remember that these scissors cost $13, which took a significant bite out of my savings at the time! After a decade of heavy use, they've more than earned their price. 
 

6. Photo-Etch Scissor. This is meant for trimming photo-etched brass pieces, and that's really all I use it for.  This is one of those tools that is only good for one job, but it does that one job exceptionally well.  It looks like the design of this tool may have been changed slightly since I bought mine.The one I linked too looks like it has slightly longer blades.


7. Plastic Toothpicks- These are great for applying tiny dots of glue, because dry glue just peels right off the tip! For smaller dots of glue, the tip of the toothpicks can be carved to a shaper point.You can read more about my love affair with them here.
 

8. Old paintbrush- This is my go-to brush. The new version of this brush is great as well, but I don't reach for it nearly as often. I put this brush through all sorts of abuse. Belive it or not, the brush on top is a new(ish) version of the same brush. I use it to mix paint, paint rough undercoats on furniture, drybrush, and stipple.


9. A Really Good Ruler- This one is from MicroMark, and it's the one that Nell Corkin instructed us to get when I took her 1/144th garden cottage class. I have the 6" version, which is long enough for most of my projects, but they also sell a 12" version.

 
10. Mini Flower Press- This isn't a tool I pull out all the time, but when I need it, it gets the job done. Any time wood or paper I'm painting/gluing starts to warp, I flatten it out and let it dry in this press. I also use it as a book press. I actually have 5 of these, so that I can keep working as projects dry. I could get away with one larger press, but I like being able to flatten pieces immediately. The only thing to remember is to use as little glue as possible, or else the excess will ooze out and cause a real mess!

Saturday, January 19, 2013

3 Reasons I Love Plastic Toothpicks

A few years ago, I picked up a box of plastic toothpicks from the grocery store. I don't remember why I wanted them originally, but since then they've become an indispensable tool in my work box. I don't use them all the time, but they're my go-to tool for any project involving really tiny dots of glue or paint.

1. They can be carved into a sharp point. Wooden toothpicks (top) normally come with a slightly sharper point than plastic toothpicks (middle). However, the plastic picks can easily be carved to apply pinpricks of glue (bottom).


2. They can be cleaned. When glue or paint builds up on the tip of a wooden toothpicks, it's time to change toothpicks. When this happens with the plastic toothpicks, I just scrape the glue off with a fingernail, and keep on going! I find this especially helpful when I'm working with dots of glue about 1mm. The tiny amounts of glue dry almost immediately. One plastic toothpick saves me about half a box of wooden toothpicks when I'm working on a complex beaded handbag design!

3. They are disposable.Unlike more elaborate tools, the plastic toothpicks don't need to last more than one project. If I use them for super glue, I can just throw the glue-covered toothpick away when I'm done.

Have I convinced you? What's your favorite way to apply tiny dots of glue? Do you use toothpicks, fine tipped squeeze bottles or syringes, a corsage pin, or some other tool?

Thursday, June 7, 2012

Don't Count Your Chickens

Last time I showed you Mom's Potato Seller. This cook plucking a chicken also sold at Sturbridge. She was one of my favorites!

I made the chicken. The feathers were all cut down from larger ones left over from my brother's fly-tying supplies.
I also wanted to show you my miniature chest. This was my graduation gift.  I've been keeping the finished miniatures I intended to sell in recycled boxes for the last year or so. It was a bit of a nightmare, to be honest. I really wanted something portable, preferably with drawers for easy access.After a bit of research, I found this machinist chest made by Windsor, which seemed like the perfect solution.


The top has a deep enough compartment for most furniture, and the front panel opens up show to eight smaller drawers, perfect for my readable books and other small things.
The drawers are lined with green felt, which helps keep things from shifting around.

Two of the small drawers came with removable dividers.

I was able to fit everything I brought to the show in the box, with quite a bit of room to spare. Coming back home, there was even more room... It's going to take a LOT of miniatures to fill this chest up!