
Wednesday, November 23, 2011
News!
Just wanted to mention that there is a post about my micro garden sheds on the IGMA blog! They showed both the shed I made in Nell Corkin's class at the Guild School (more about my Guild School experience here,) and the little green shed I built after taking the class. Please go take a look!
Tuesday, November 22, 2011
Things to Do With an Extra Table
One of the nice things about Mom and I both liking miniatures is that a lot of things get passed back and forth between the two of us. The white table below was originally supposed to be for one of mom's dolls. I distressed the table, and two matching chairs, for her. When the set was finished, however, the size and shape of the table just didn't quite work. Then mom stumbled across a slightly smaller rectangular table that was perfect for her project, and suddenly the round table was extra!

 The stacks of books took longer than I was expecting. I added a few with silk covers to give variety. I'm still planning to add more piles when I get the chance.

I already had the bottle of ink made. It looks very strange in the photograph above, it's actually only half full the way that the very first photo shows. I'm not sure if you can see it, but the pen has a tiny brass nib. Lastly, the dirty tea cup has left a few rings on the table! I made the rings a bit darker than I would normally, because the tabletop is so busy (I'm still planning to add more chaos). I wanted to make sure they would be seen. I also realized, looking at the placement of the teacup and the angle of the pen, my imaginary scholar is probably left-handed! I'm left-handed, so I tend to arrange things that way without realizing it. Oh well. At least the ink is on the right side. (P.S. I'm sorry, the pun was unavoidable.)

Looking at the beaten-up finish of the table, I suddenly pictured it in the home of an absent-minded scholar. I'm getting to the end of the semester at college, so I guess piles of books are on my brain! I chopped off half the table foot, and propped it back up with a slim leather book. The brass lamp came from my mom's collection. I feel a little guilty about the lamp. It has the most fantastic patina- just the right amount of tarnish! I swear she gave it to me, I didn't steal it, but I also know she had plans for the lamp. I may end up giving it back. The little white vase has a few daisy-like flowers, most of which are dead! I made everything except the table, lamp, teacup, and vase.


Sunday, November 20, 2011
A Pretty Project
I've always loved antique fans. For a long time now, I've wanted to try making some in miniature. This last weekend I finally gave it a go. Since I wanted the fan to look very delicate, I chose to make the sticks of the fan very narrow, and spread them quite widely. In many of the examples I looked at, it was hard to see the individual spokes, which were so close together there was no space between. I was relieved to find a few historical examples where the sticks were spaced the way I preferred. 

 This fan had perfect spokes! I painted a landscape this time, with a pair of flower-filled urns flanking the scene.
 Did I mention that these are less than an inch tall, and only about an inch and a quarter wide? Unfortunately, even using the thinnest silk I had, they are still a little too thick to function, but I think with a bit more experimenting, I'll be able to make them in various open and closed positions. I'm also excited to try a few variations, like adding guards (which most, but not all of the fans I saw had) and maybe adding some painted flowers or gold designs to the spokes!

This was my first attempt (above). You can see that the bottom of the fan got a little messed up on this attempt, but I kept going, because I wanted to make sure all the other steps I'd figured out would would work the way I thought they would. I used an old gold silk for the fan leaf and tassel. The colors are a bit brighter in real life.

I had a little trouble with the spokes of this fan, as well, but they came out better overall. I used a pinkish beige silk on this fan, and painted three little portraits connected by garlands of flowers . It still needs a tassel.


Sunday, November 6, 2011
Time for Tea
The break in postings over the last few weeks was unexpected. By accident, I left my camera and memory card full of pictures a few weeks with my mom, and wasn't able to retrieve them until this past weekend.  This teacup was part of a larger vignette for a doll my mom was working on. The cup and teaspoon are only Chrysnbon, but Mom added the resin tea and I added pink flowers to the cup and saucer. I made the tea bag from tissue paper.

Wednesday, October 12, 2011
Slacking Off
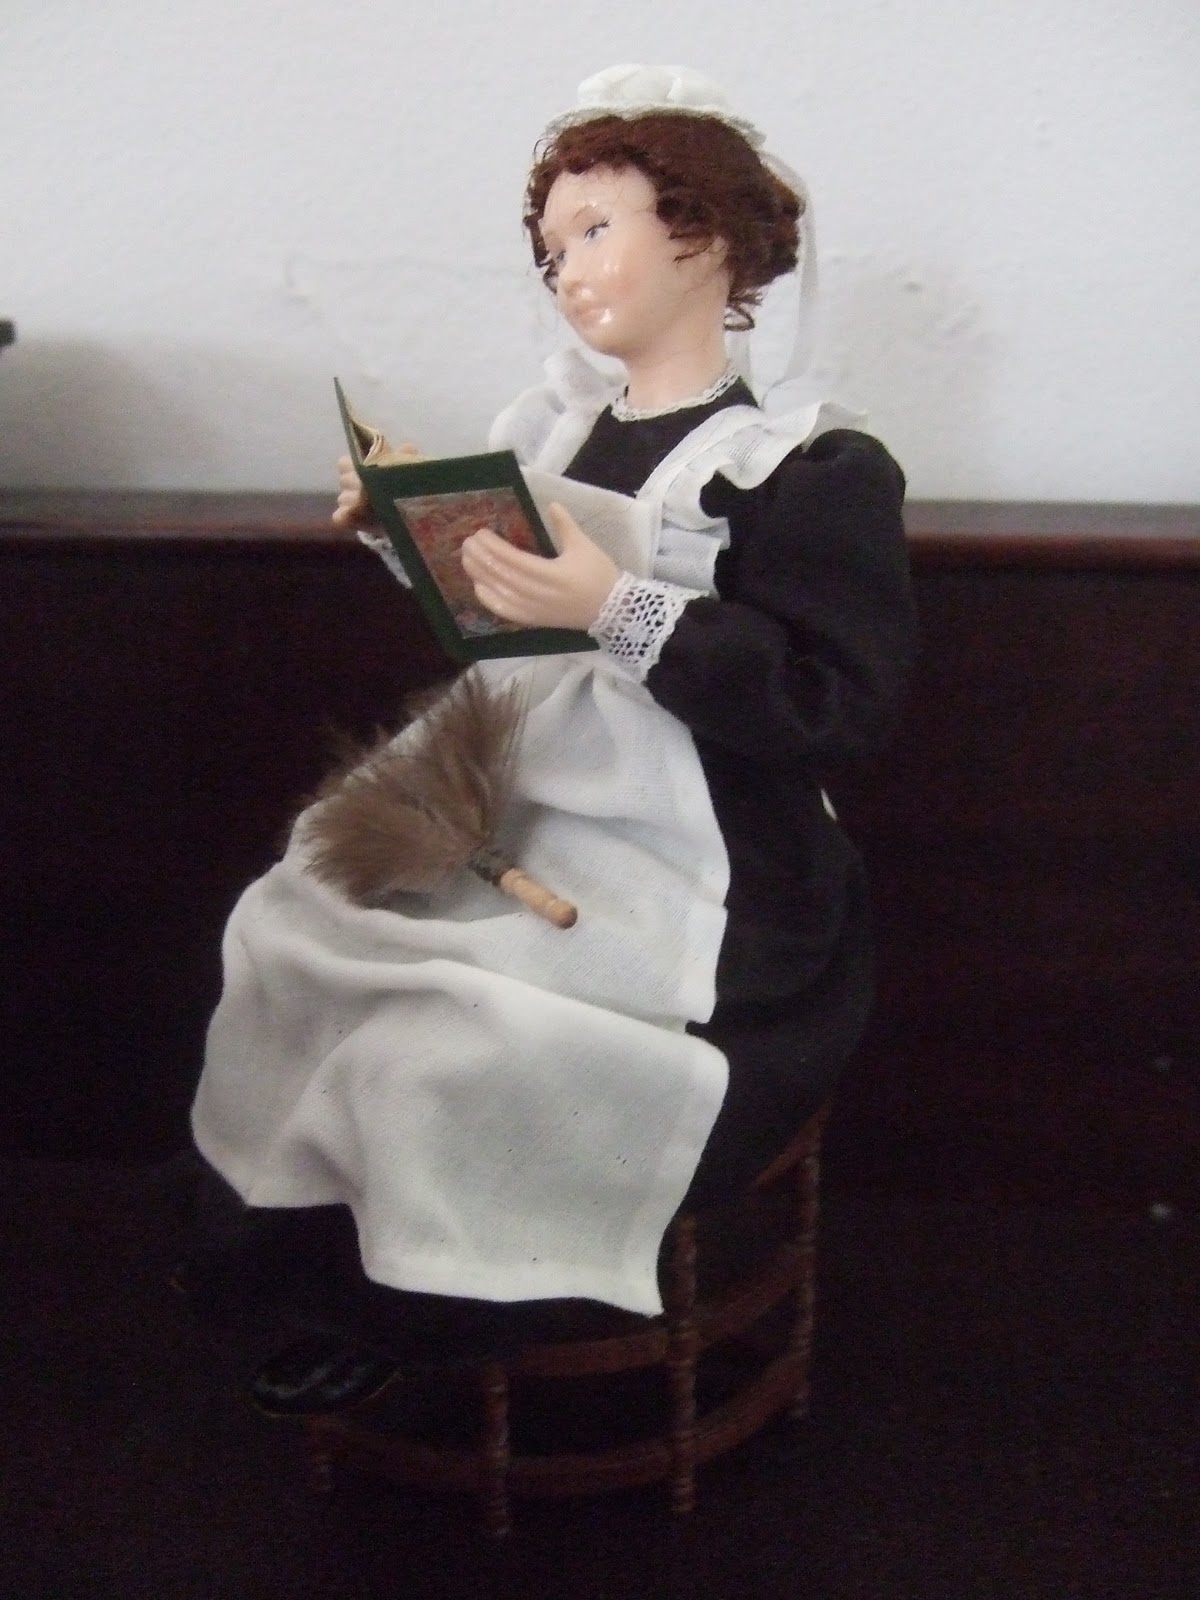
This another doll Mom made some time ago. She's one of my favorite, because if I were in her shoes, I'd probably sneak off all the time to read while I was supposed to dust too! I'm not sure why her face looks so shiny here, it's plain porcelain in real life. Unfortunately, I'm writing this post on the fly, so I don't have any better pictures.

Friday, October 7, 2011
A Big (Micro) Project
Back in June I shared this 1/144th scale garden cottage which I made with Nell Corkin at the Guild School. The week was a lot of fun, and I went home really wanting to do more in the scale. 

 The bench out front is actually painted a sunny yellow, and then heavily weathered. I've added a few pots of flowers, but I still need to build up some of the bushes.
 I added a flat trellis with yellow roses along the left wall. This was a much quicker build than the freestanding one we made in the class.
I originally thought I might add a second floor crawlspace to the structure. But when it was time, I chickened out .
 On the right I added a big dresser. I had a difficult time figuring out what to put over here, since there was a lot of wall space but the piece had to be very narrow. I actually built this hutch as an experiment before I began the house, but it ended up fitting perfectly!
 On the right side is a glass bowl filled with yellow roses from outside. The painting above the table is a micro watercolour of sunflowers I painted a few years ago. You can see more of them here.


A few weekends ago, I did! I decided to make another shed structure, because I wasn't confident I could build on my own. I also worried that the wood I used was not as sturdy as the stuff we used in class, so I wanted to keep the structure extra small to avoid problems.

I'm still working on the landscaping. The foam that Nell provided for grass and plantings had a nice range of colors, but mine is not as well mixed. It's slow going, because I really have to hunt for the bits with the right color!


I originally thought I might add a second floor crawlspace to the structure. But when it was time, I chickened out .


Monday, October 3, 2011
A Good Man is Hard to Find, and Fake It Till You Make It
I realized that I haven't shown many of Mom's dolls on here lately. She made this fellow a while ago. Though she knew she wanted to put a frilly apron on him right from the beginning, he spent a long time in just shirt and trousers while she hunted for the perfect apron fabric. She also debated giving him a vacuum instead of dishes, but decided that it made more sense to wear an apron to do the washing up.


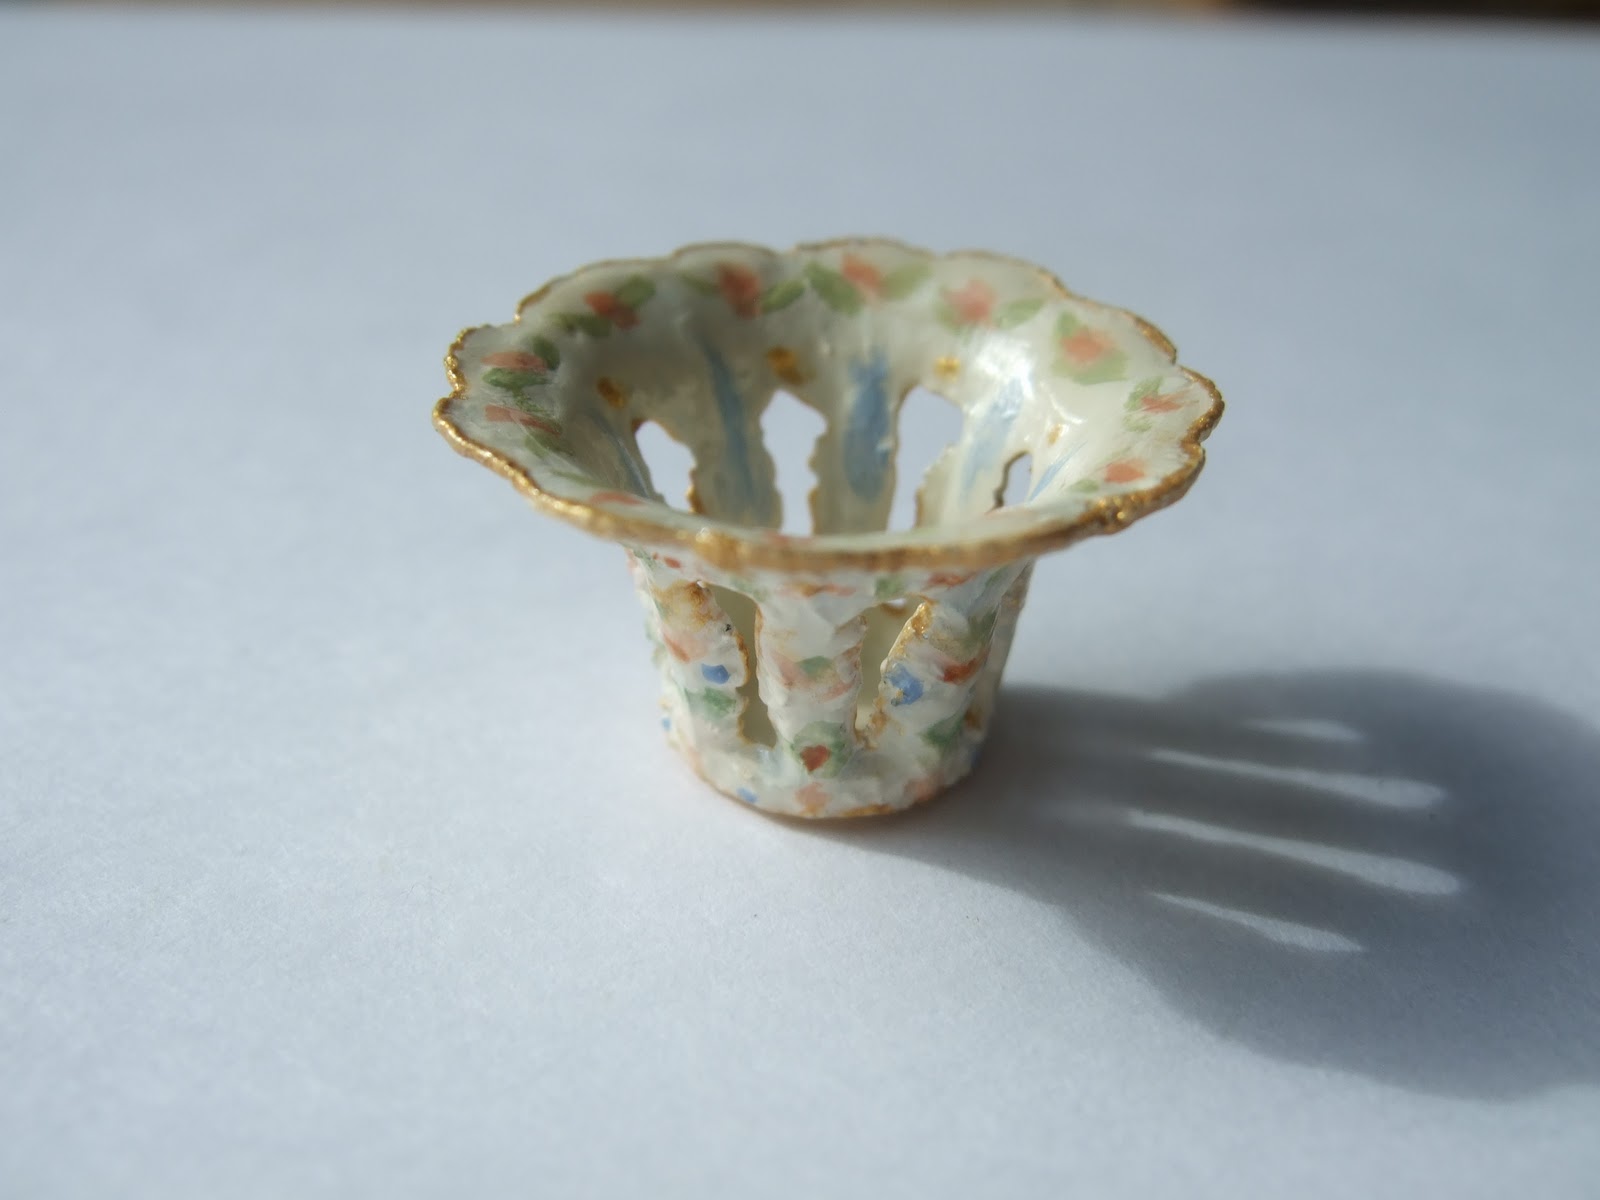
In any case, I started wondering if there was any way to make something that looked similar but was a little less fragile. I also wanted something that I could use in a shadowy corner without feeling guilty that it was hidden away. I found a shiny silver plastic bell (the type sold in packs in the wedding aisle of craft or party stores) among my stash and decided to see what I could do.
Subscribe to:
Posts (Atom)


.jpg)


.jpg)


.JPG)


+(2).jpg)


